


-
 files/AusmodshopLogitechGProXSuperlight2GPX2moddedPCB.jpg
-
 files/PXL_20240716_044313189.jpg
-
 files/PXL_20240715_063432801.jpg
-
 files/PXL_20240715_062124369.jpg
-
 files/PXL_20240715_062636827.jpg
-
 files/PXL_20240715_062629163.jpg
-
 files/PXL_20240715_062504349.jpg
-
 files/PXL_20240715_062100105.jpg
-
 files/PXL_20240715_062240572.jpg
-
 files/PXL_20240715_062304718.jpg
-
 files/PXL_20240715_062417624.jpg
-
 files/PXL_20240715_062428108.jpg
-
 files/PXL_20240715_062737732.jpg
-
 files/PXL_20240715_062813725.jpg
-
 files/PXL_20240715_062836689.jpg
-
 files/PXL_20240715_062856874.jpg
-
 files/PXL_20240715_062933069.jpg
-
 files/PXL_20240715_063010059.jpg


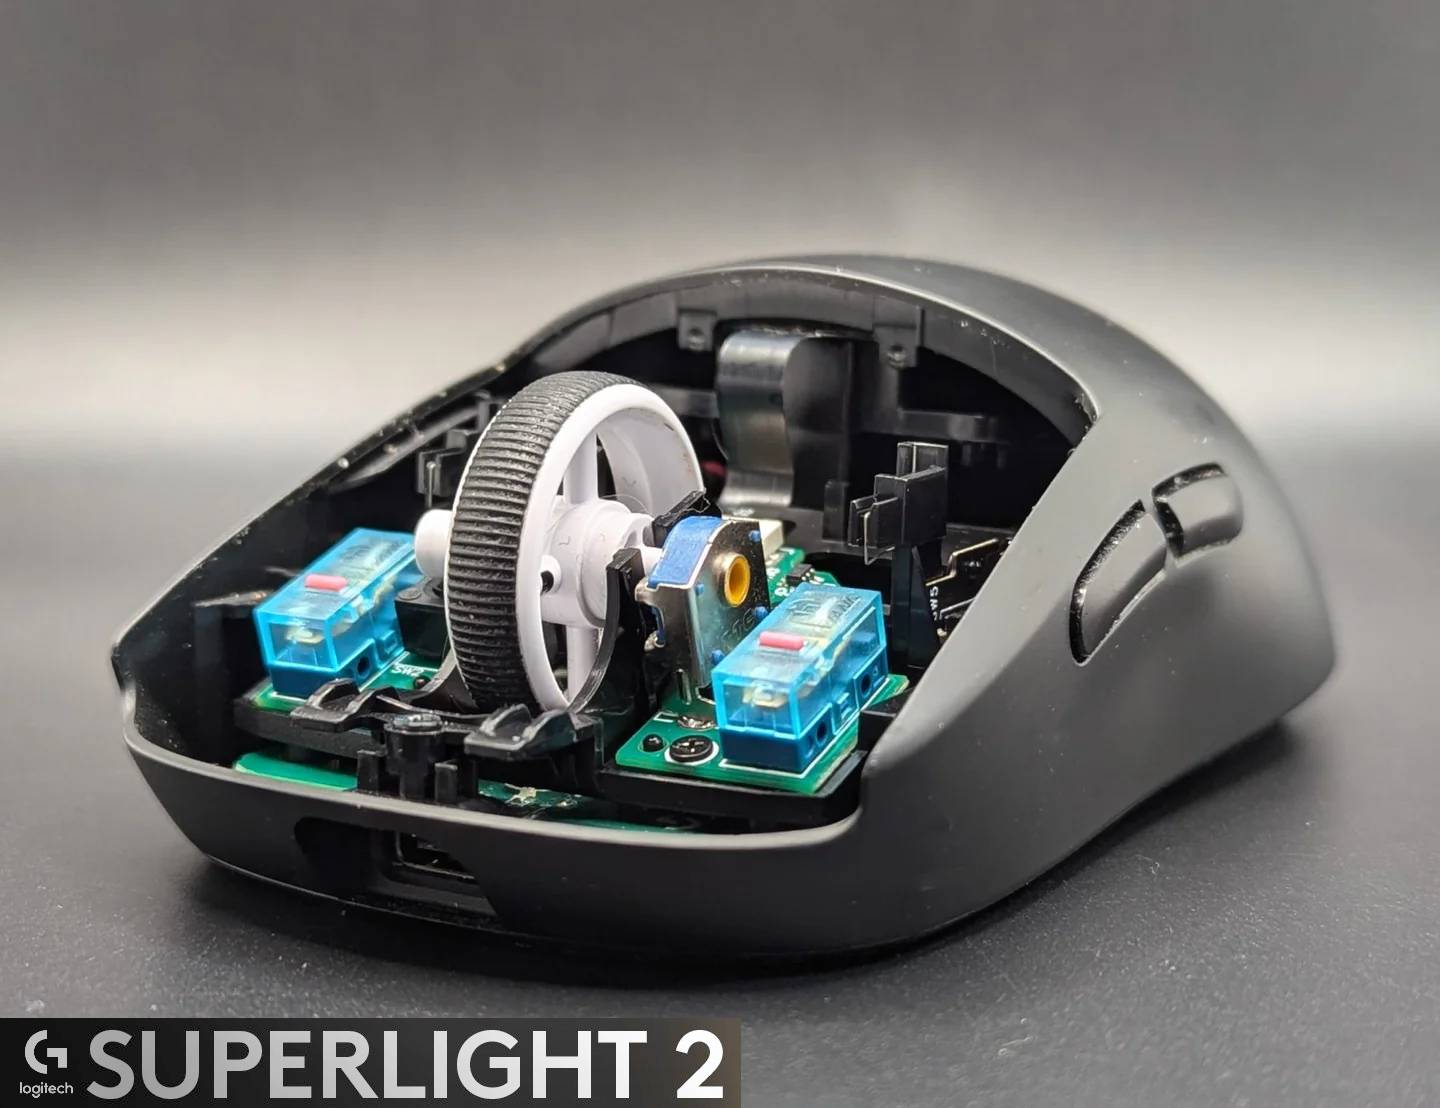
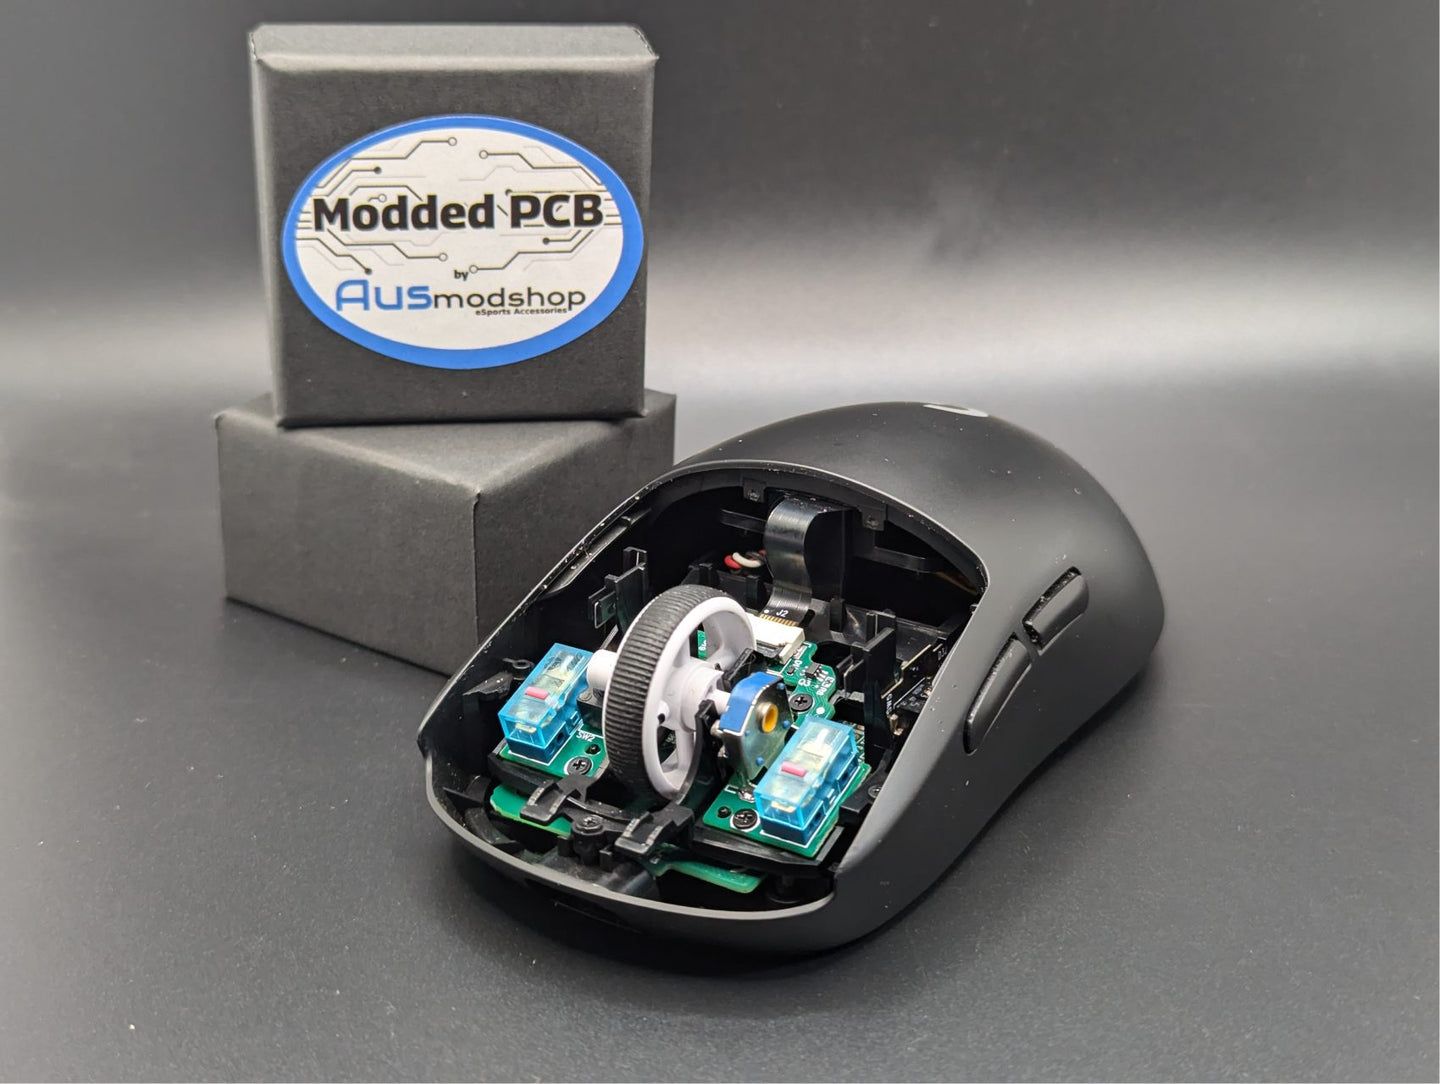
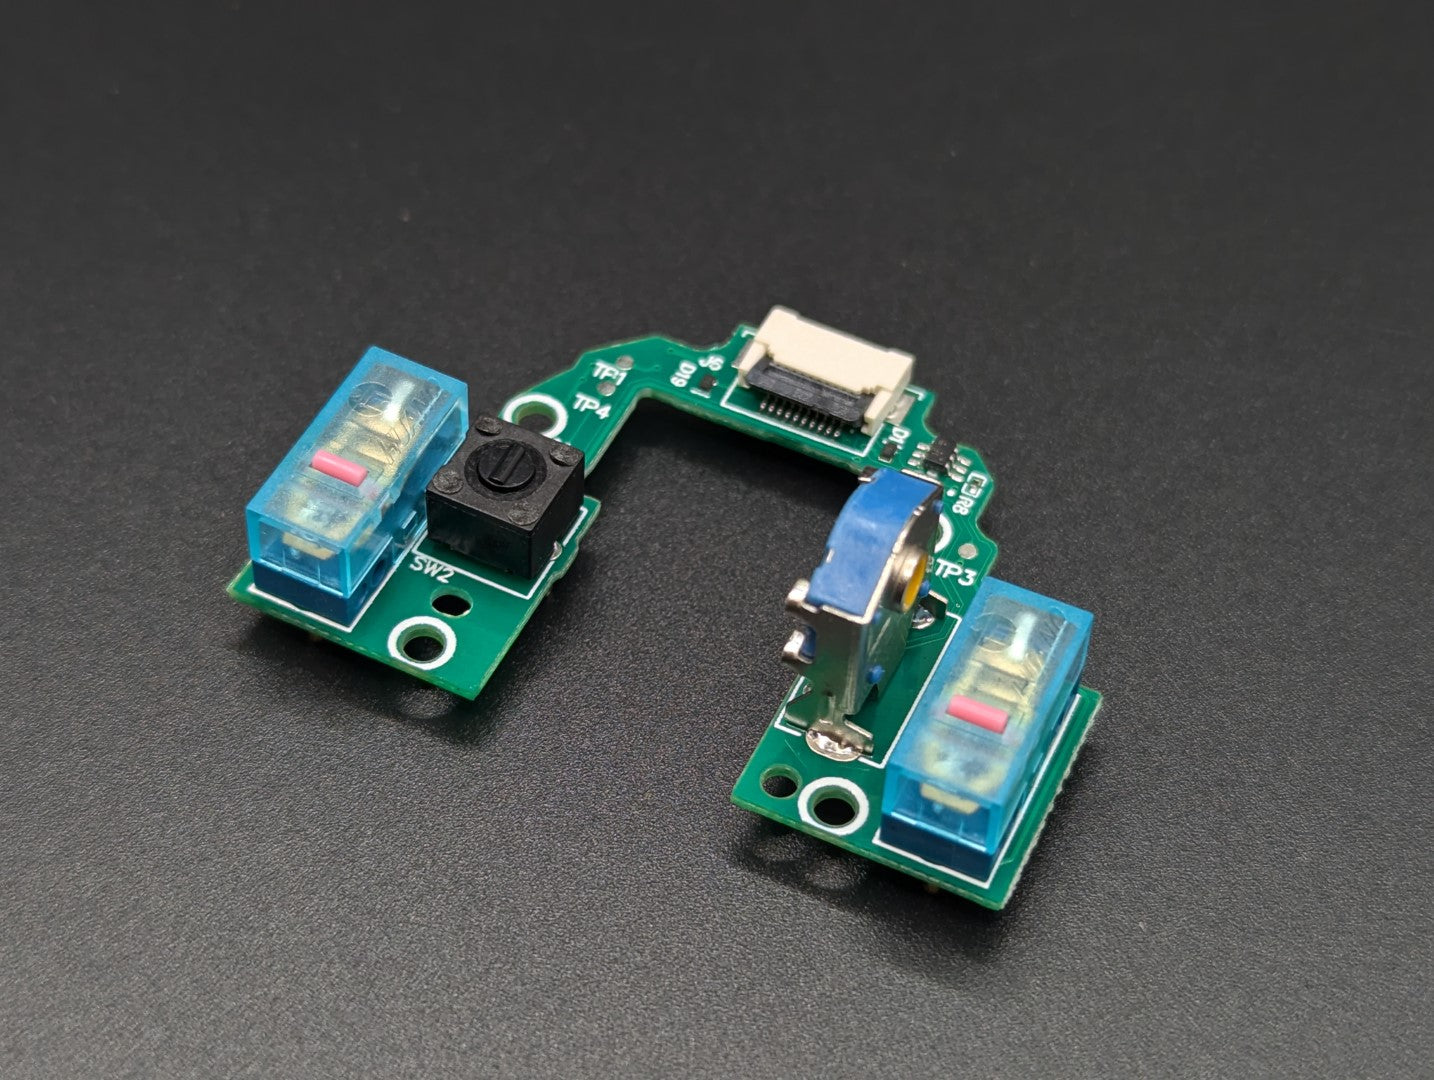
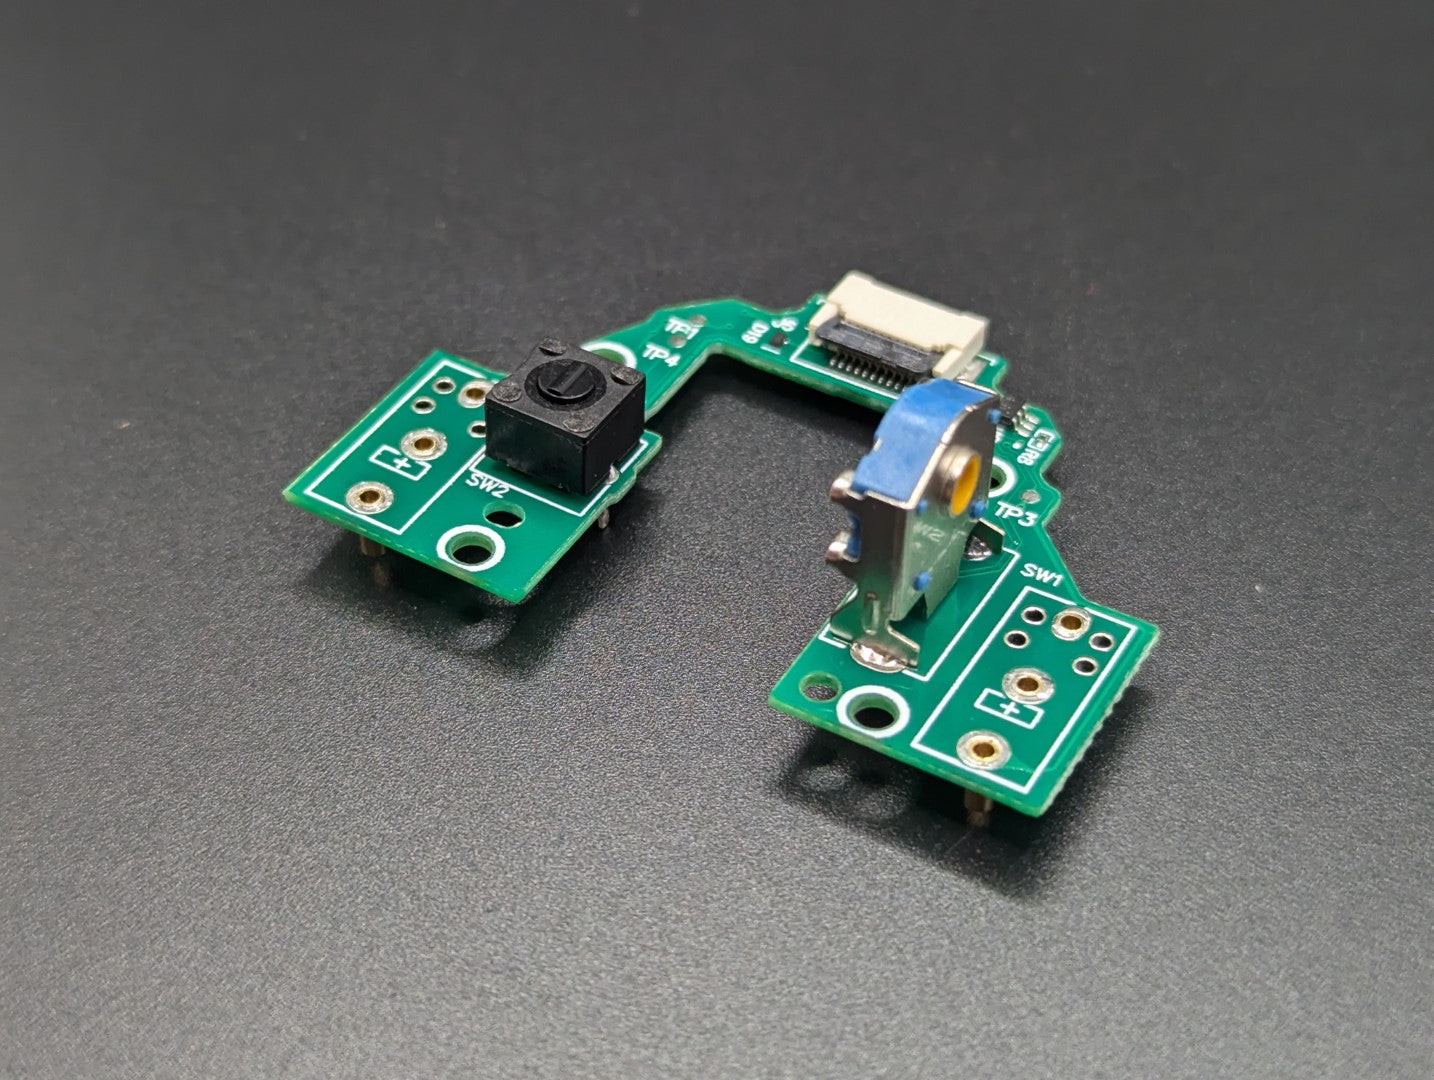
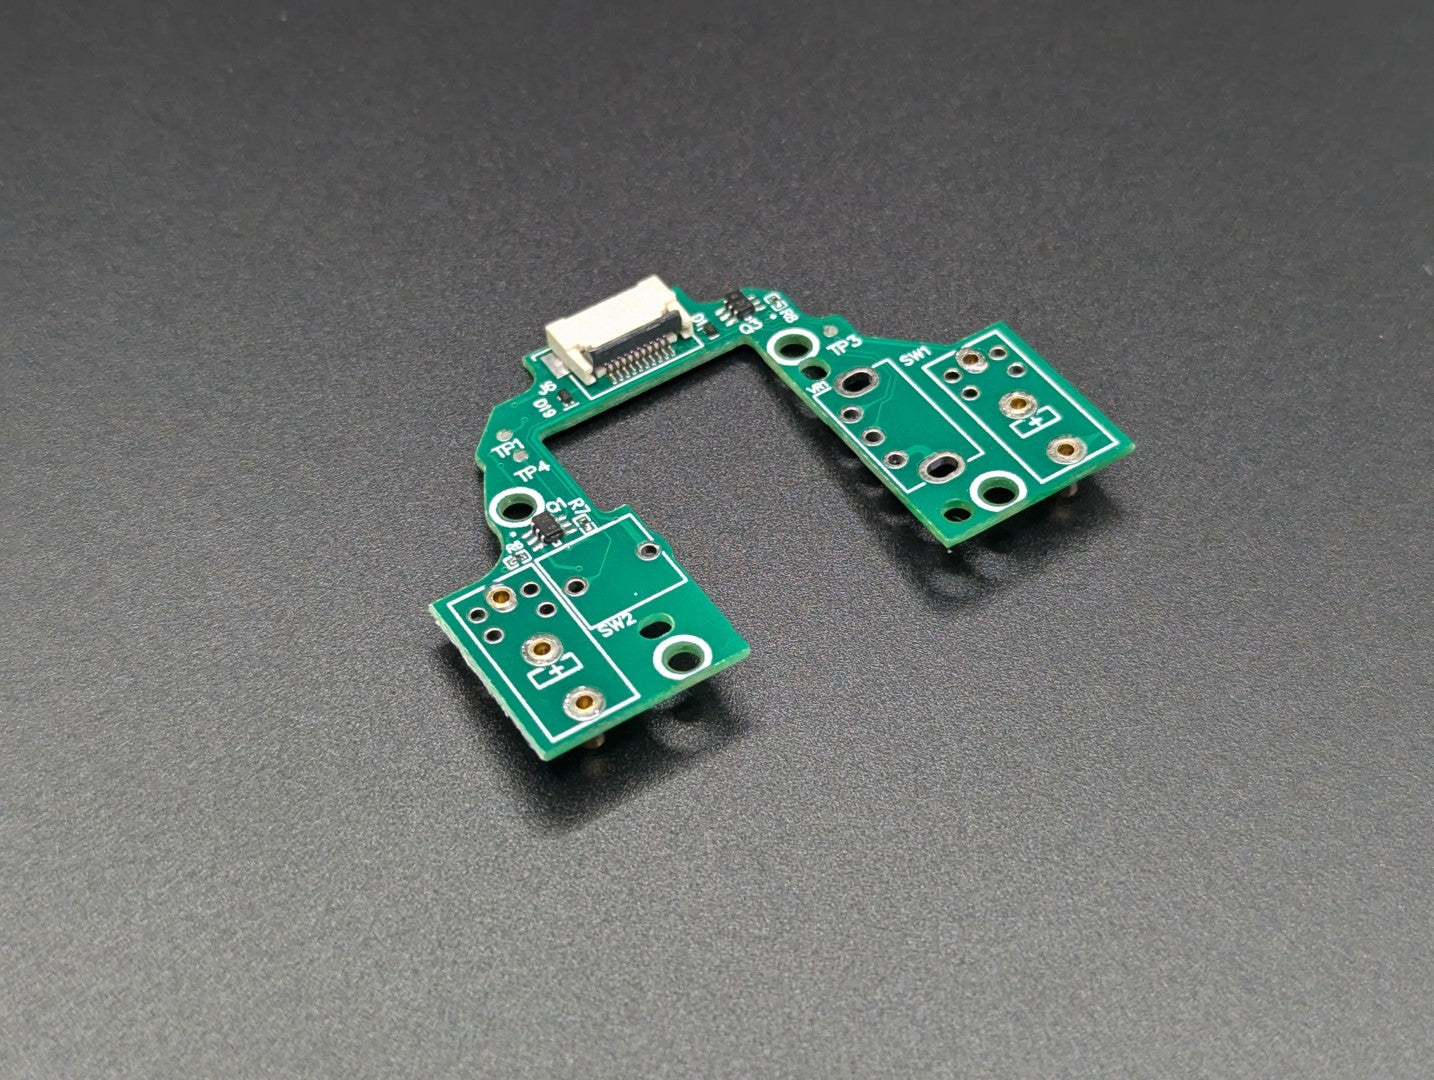
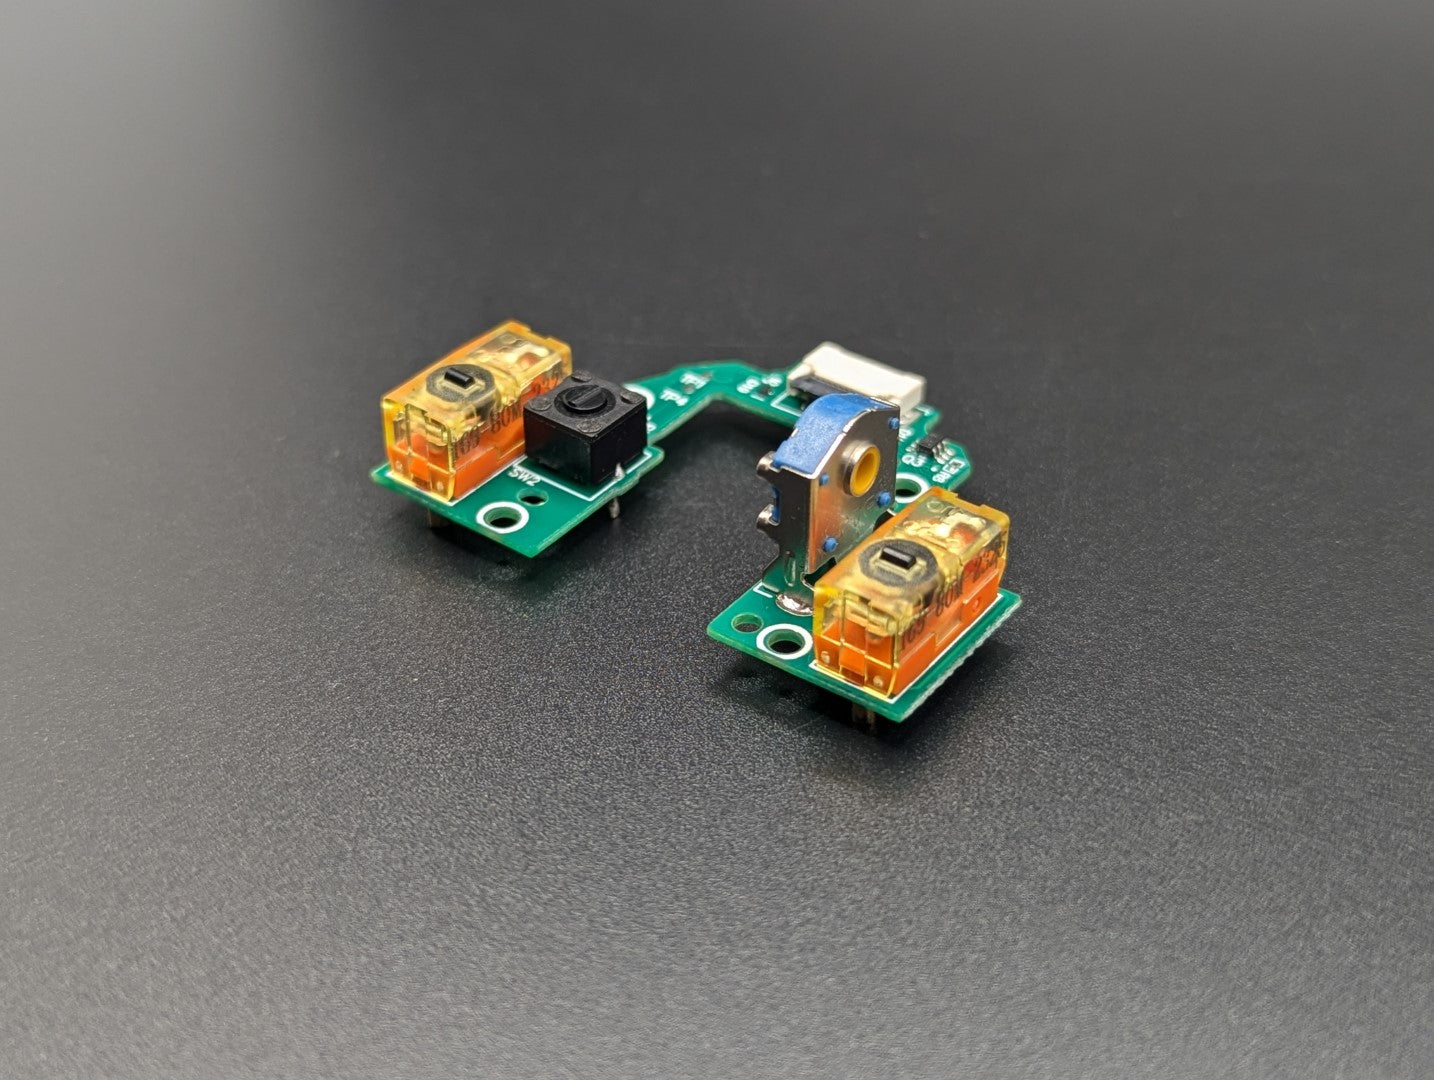
Modded Logitech G Pro X Superlight 2 PCB (GPX 2)
- Regular price
- $29.95
- Stock Level:
- Soldered Switches: In stock
- Hot-Swap Sockets: In stock
Shipping is calculated in checkout


*There is a 1 week build time on all modded PCB's*
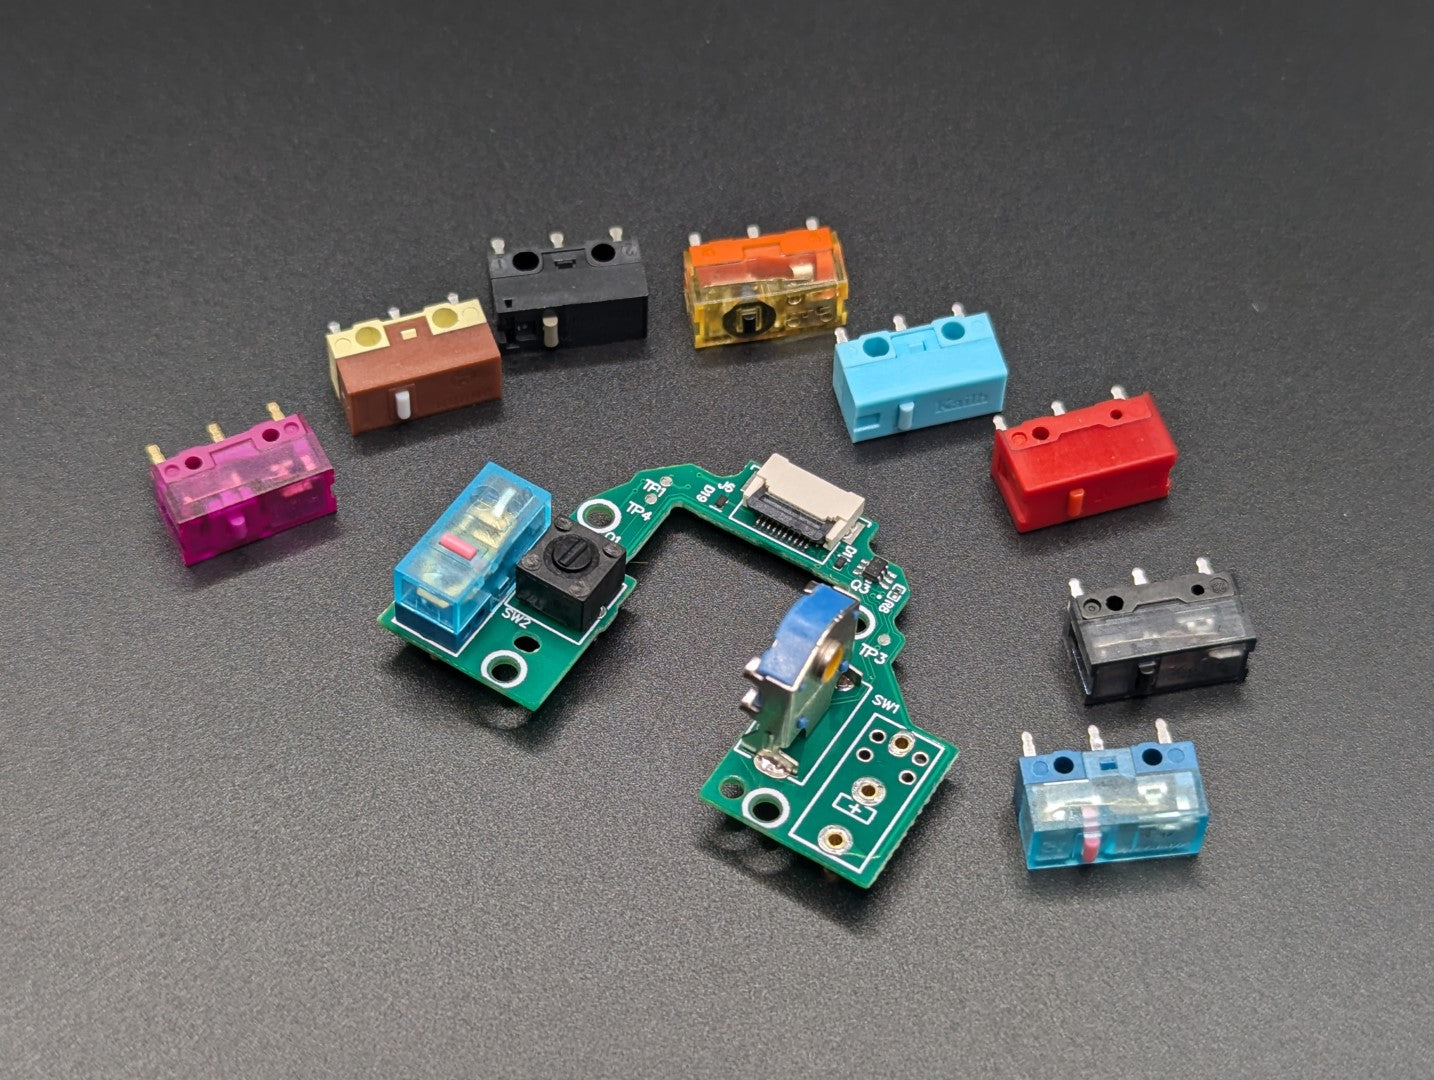
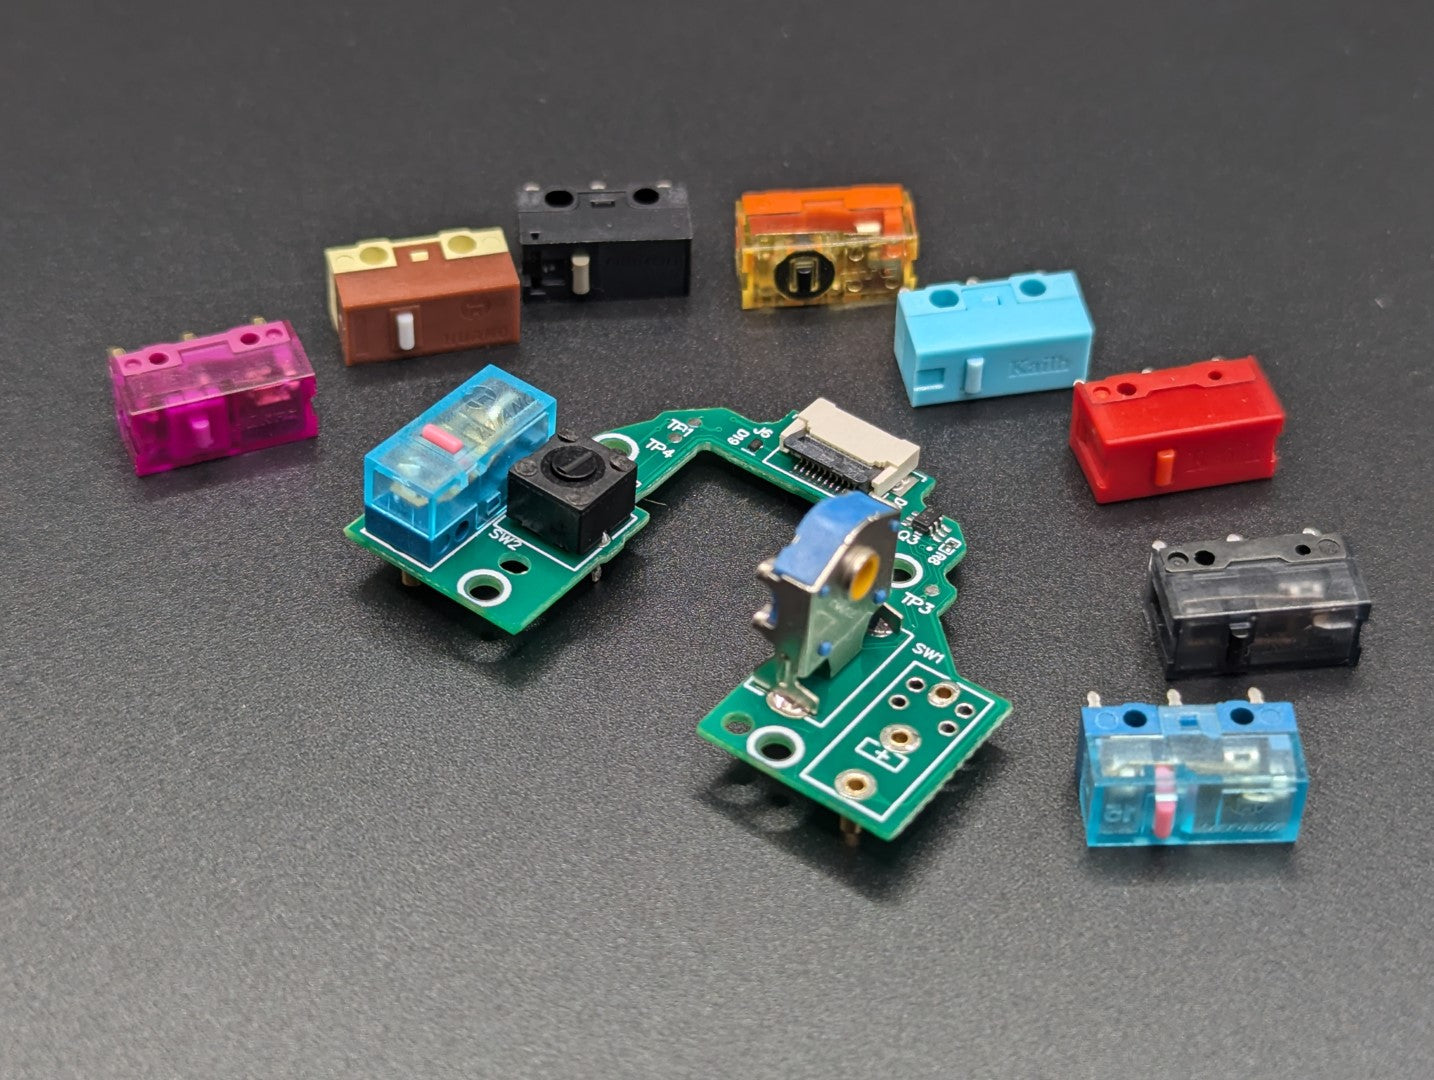
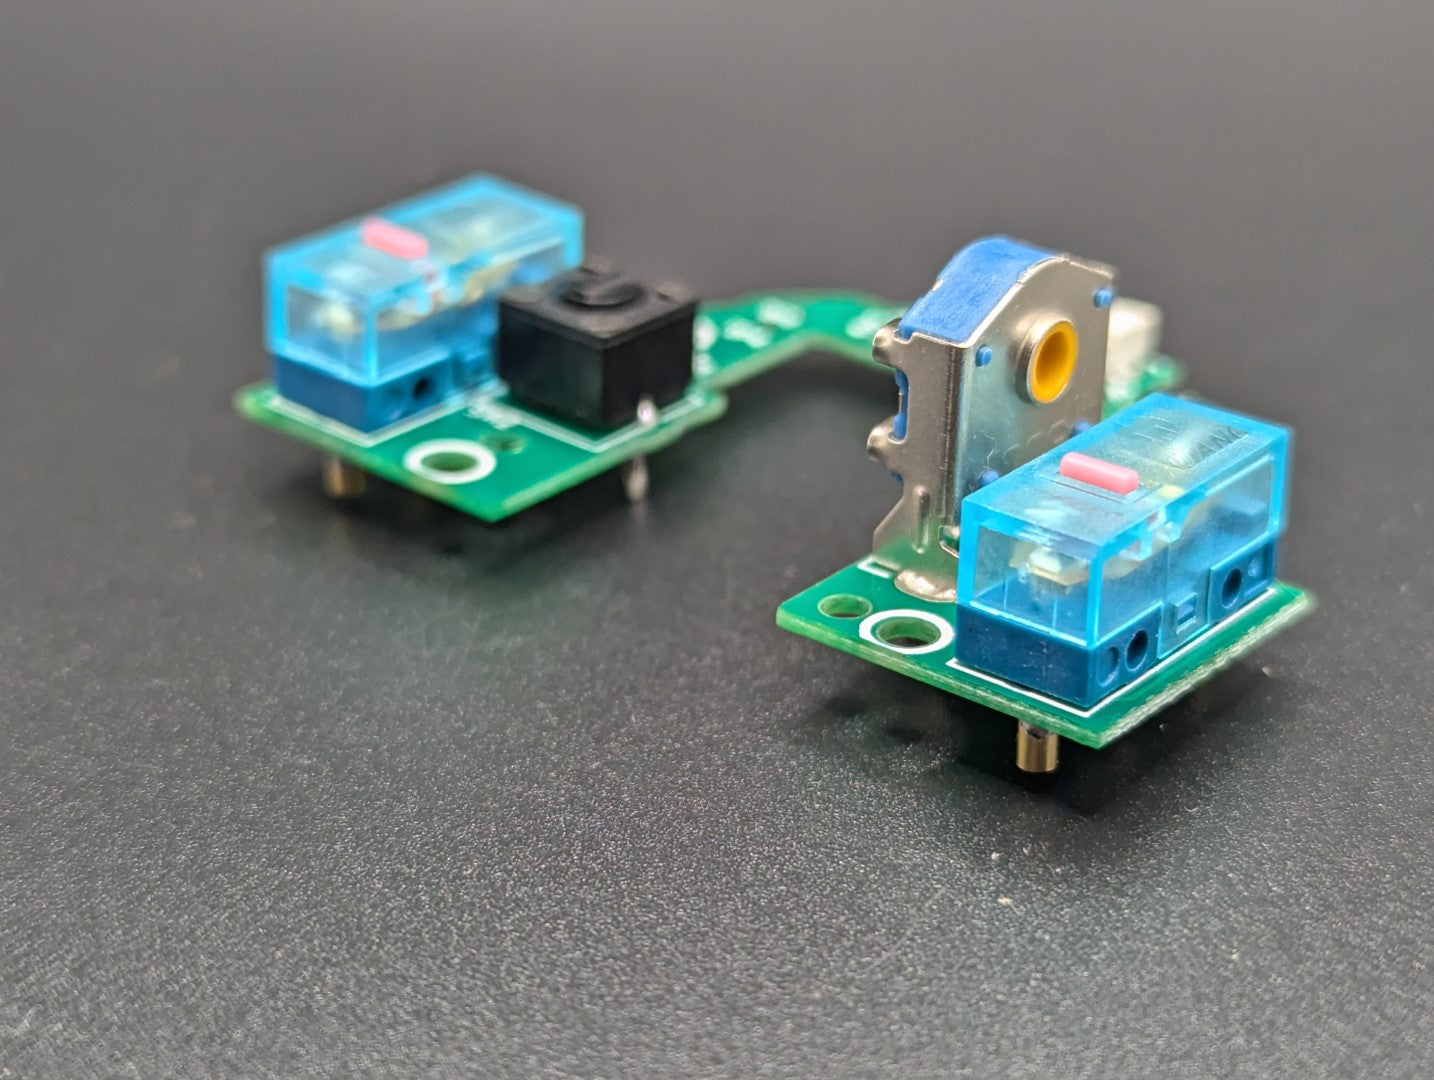
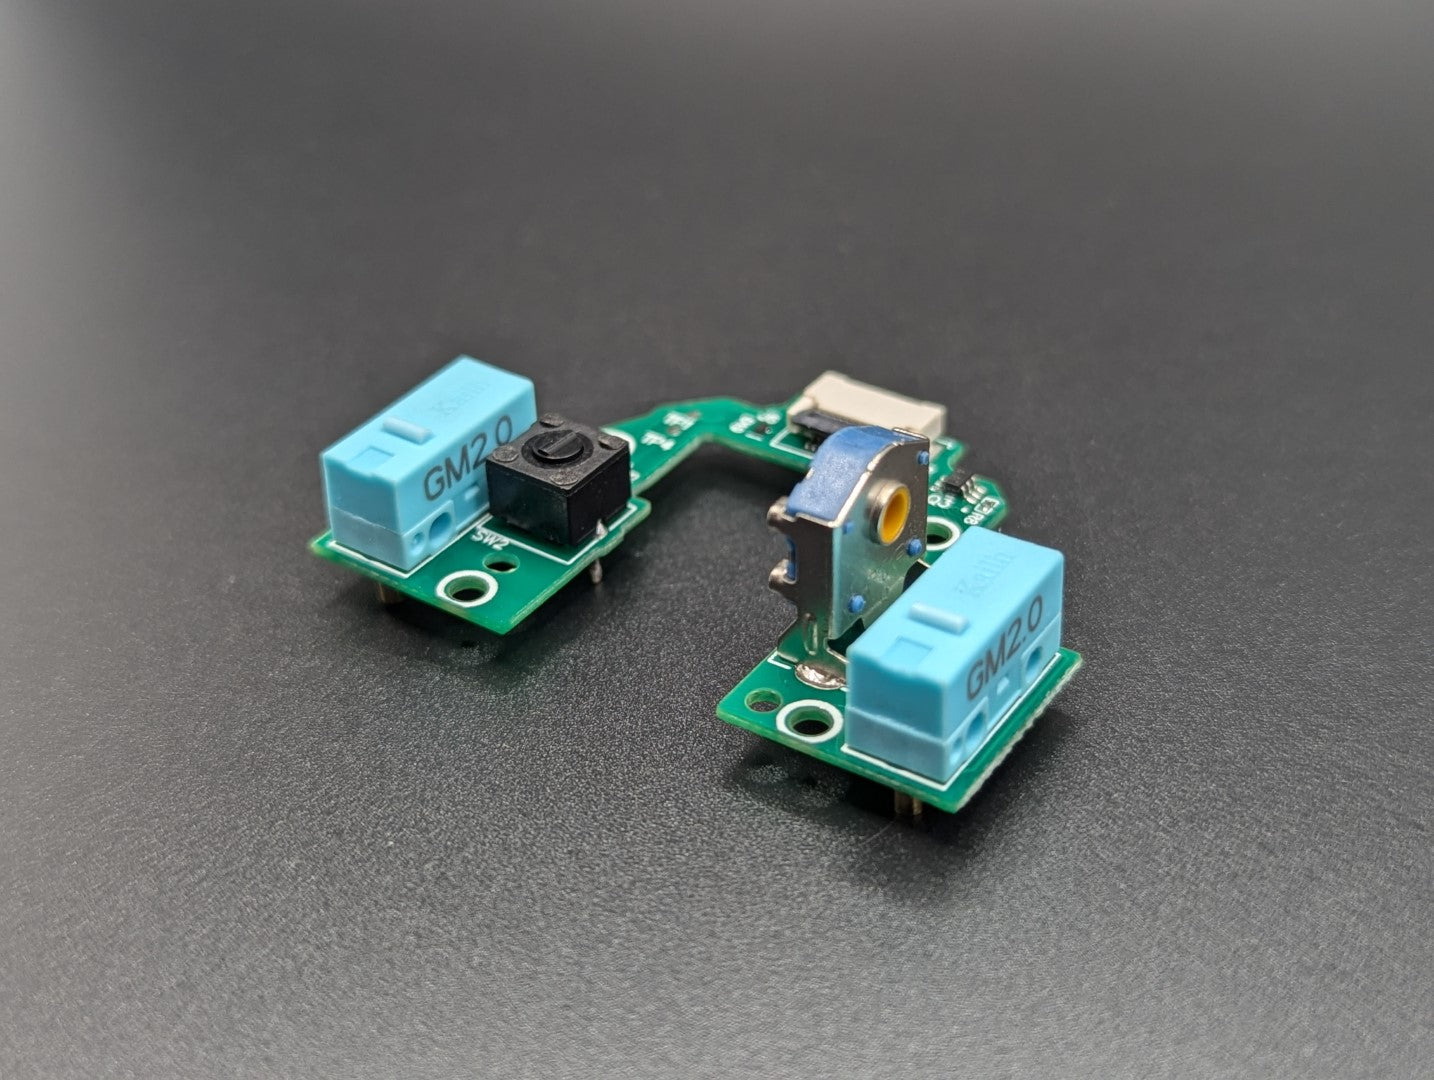
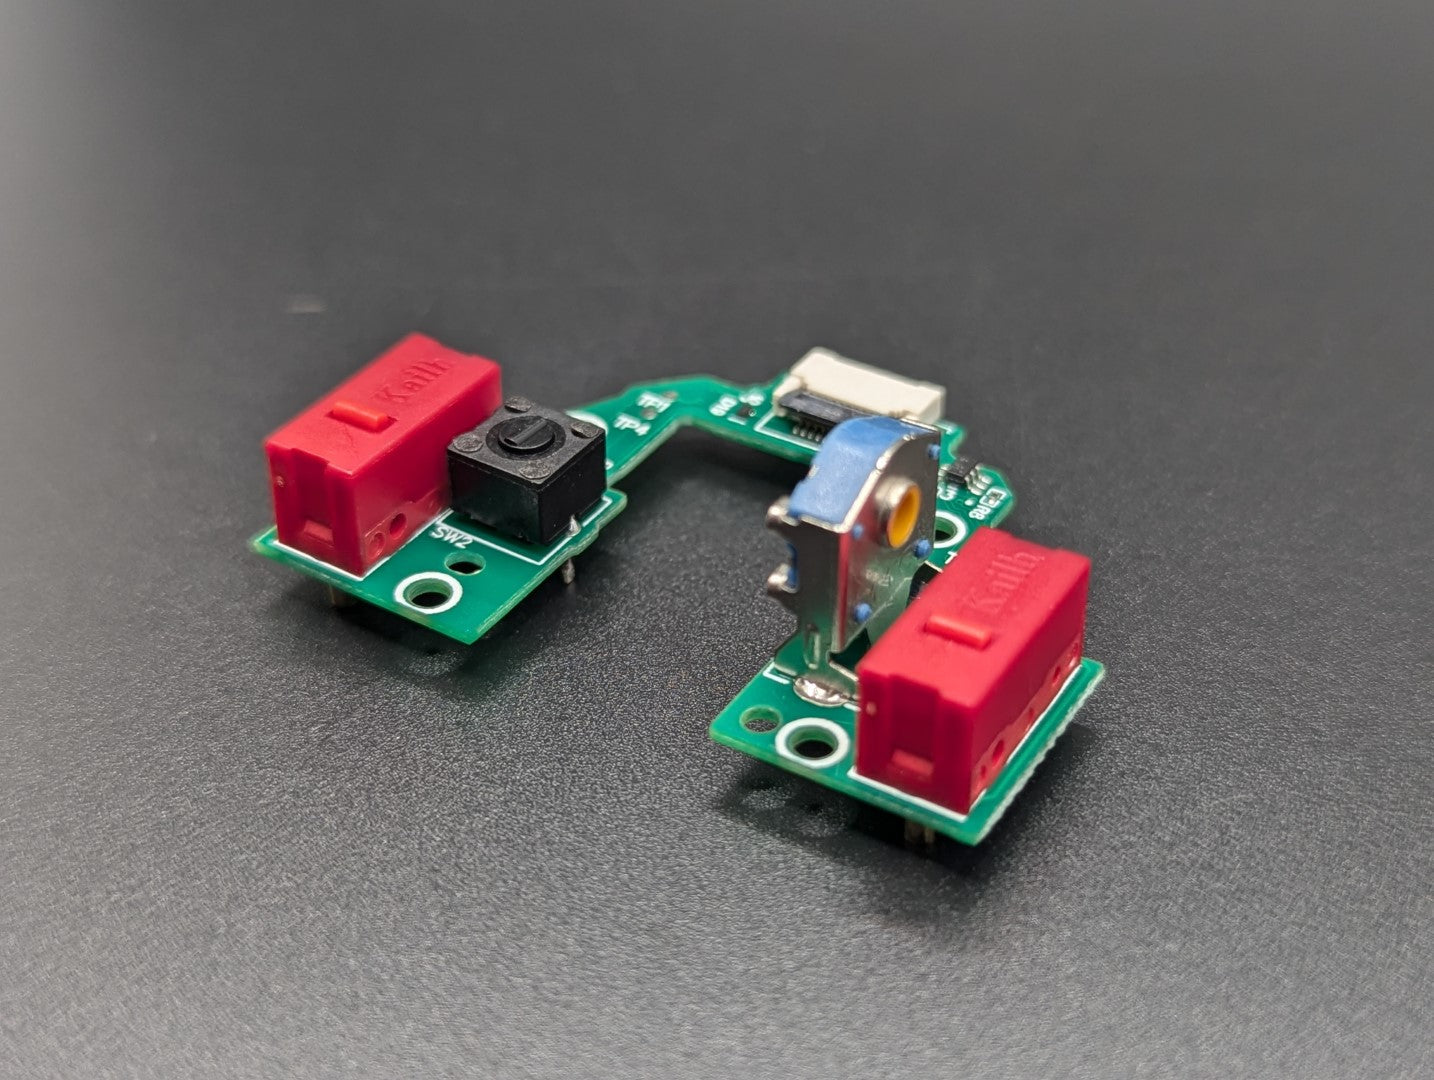
Replace the Logitech G Pro X Superlight 2 (GPX2) optical switches with mechanical switches by replacing the stock PCB with this modded PCB. Many people have complained about the heavy and mushy feeling that the optical switches of the GPX 2 provide so by installing a modded PCB you can choose from a range of different mechanical switches to tune the mouse clicks and encoder how you see fit.
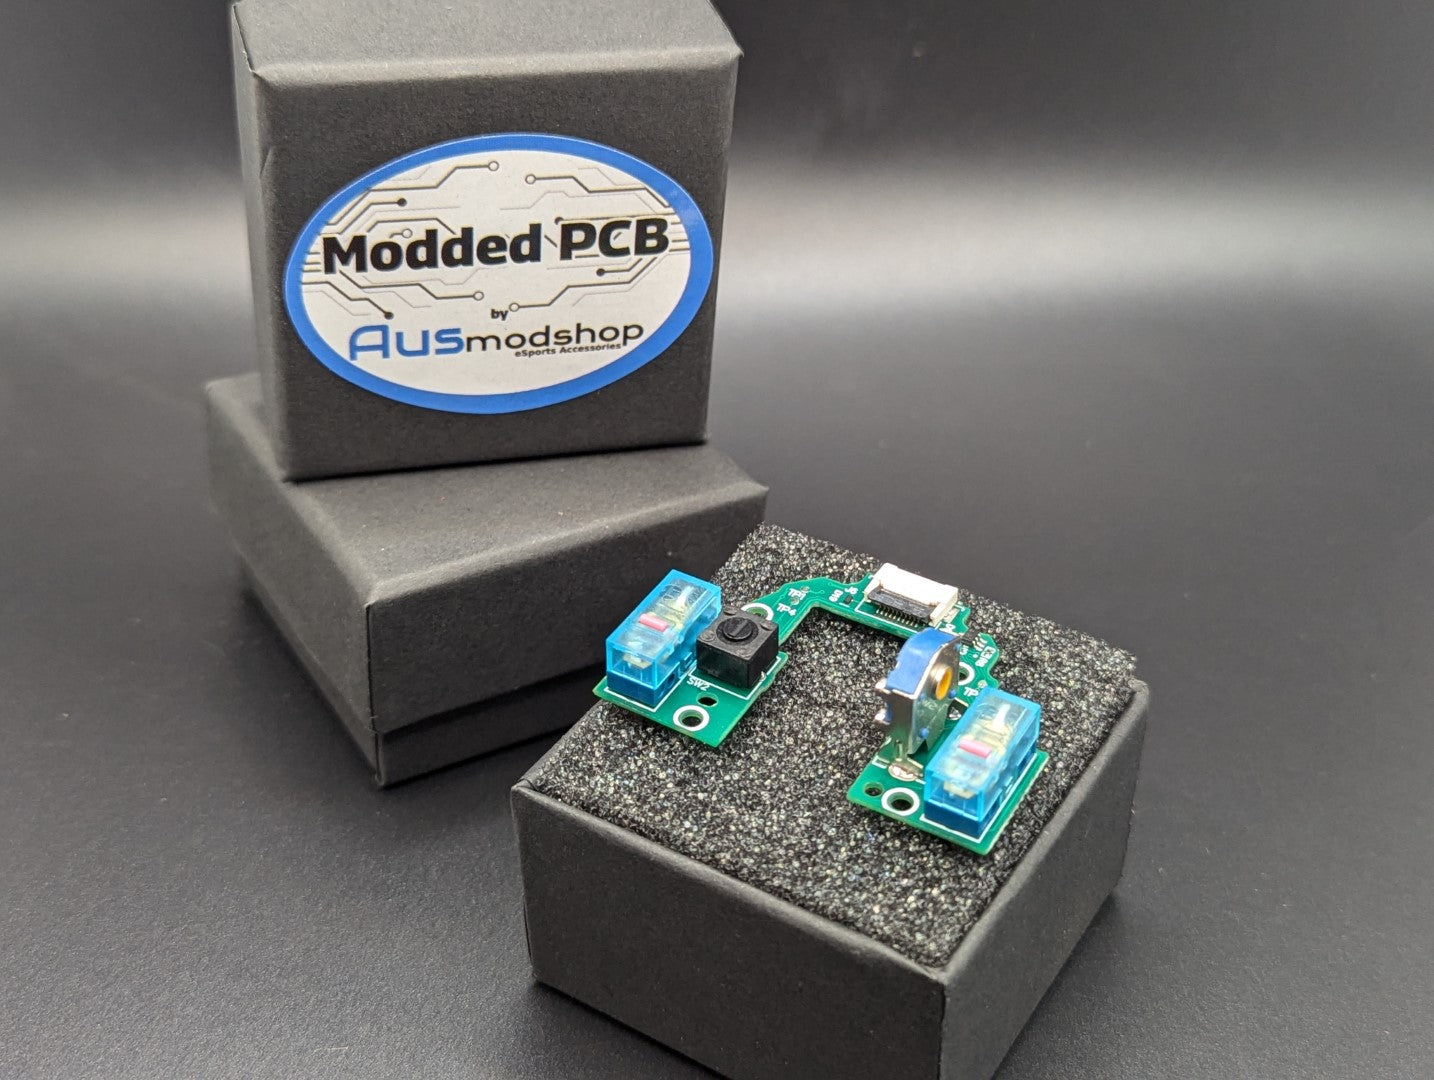
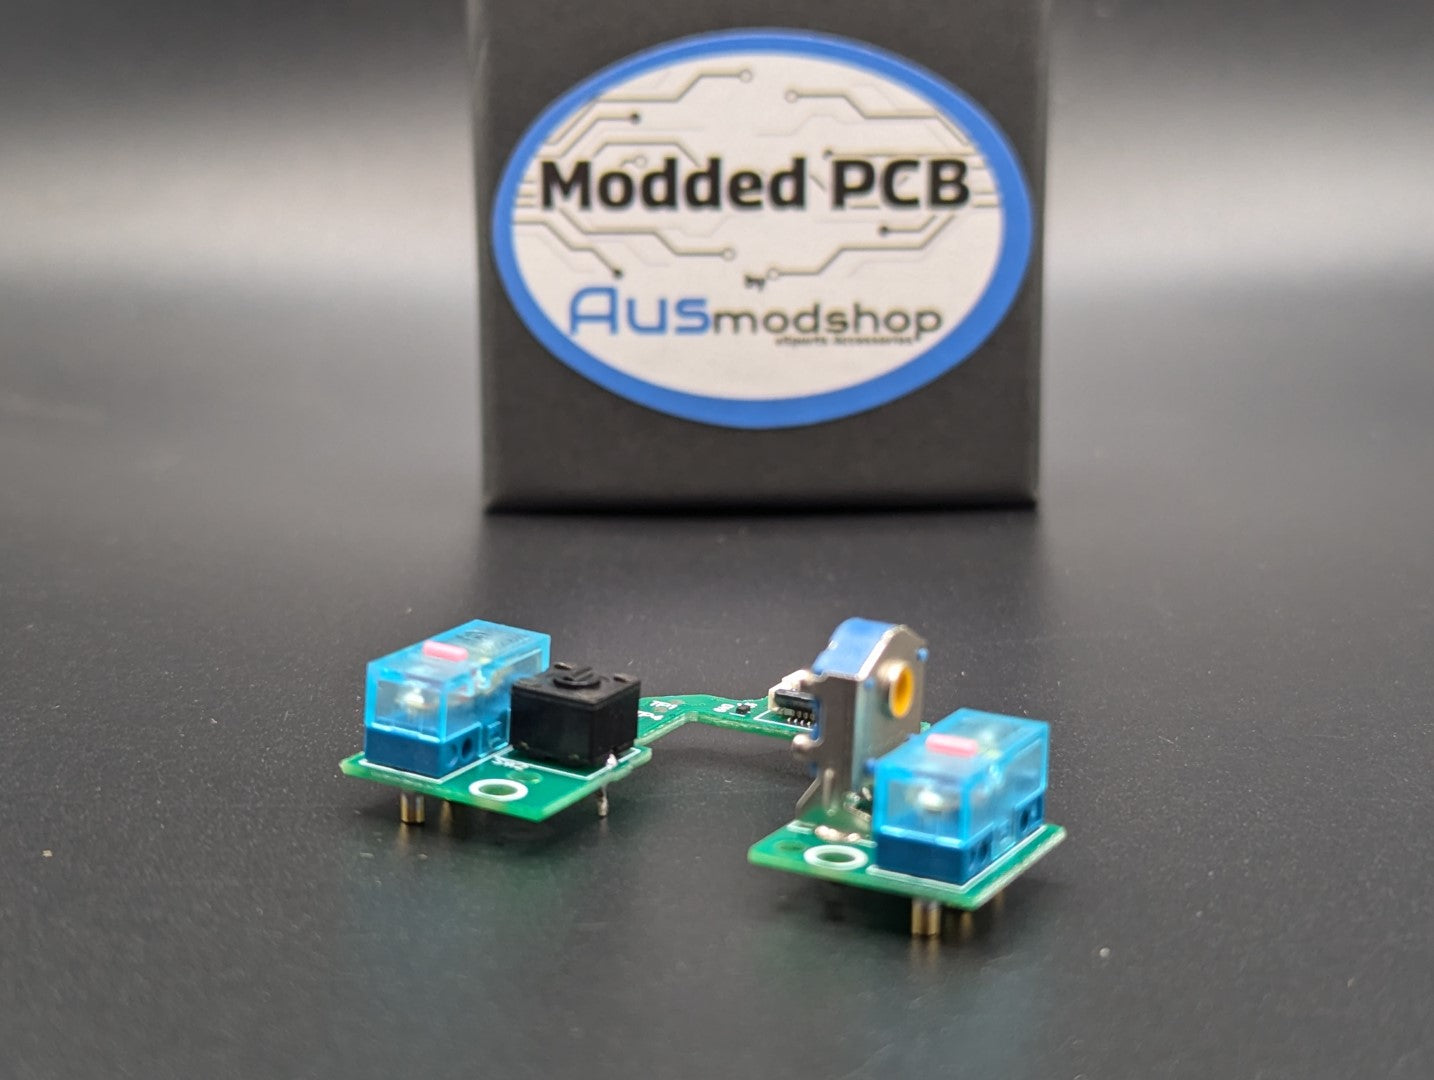
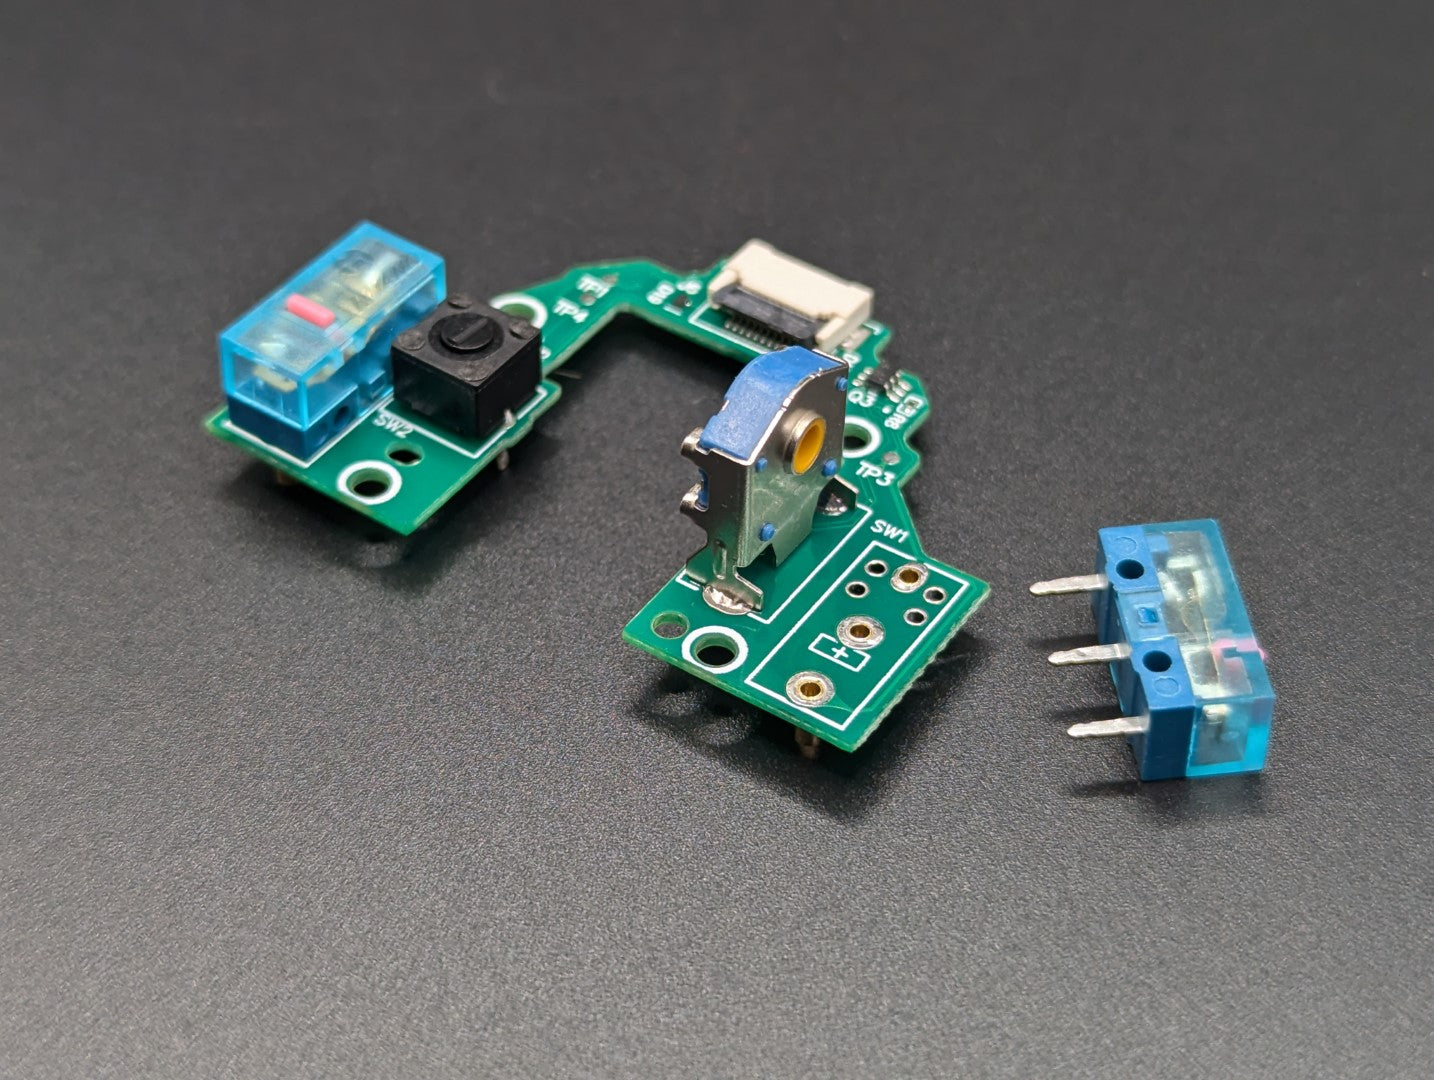
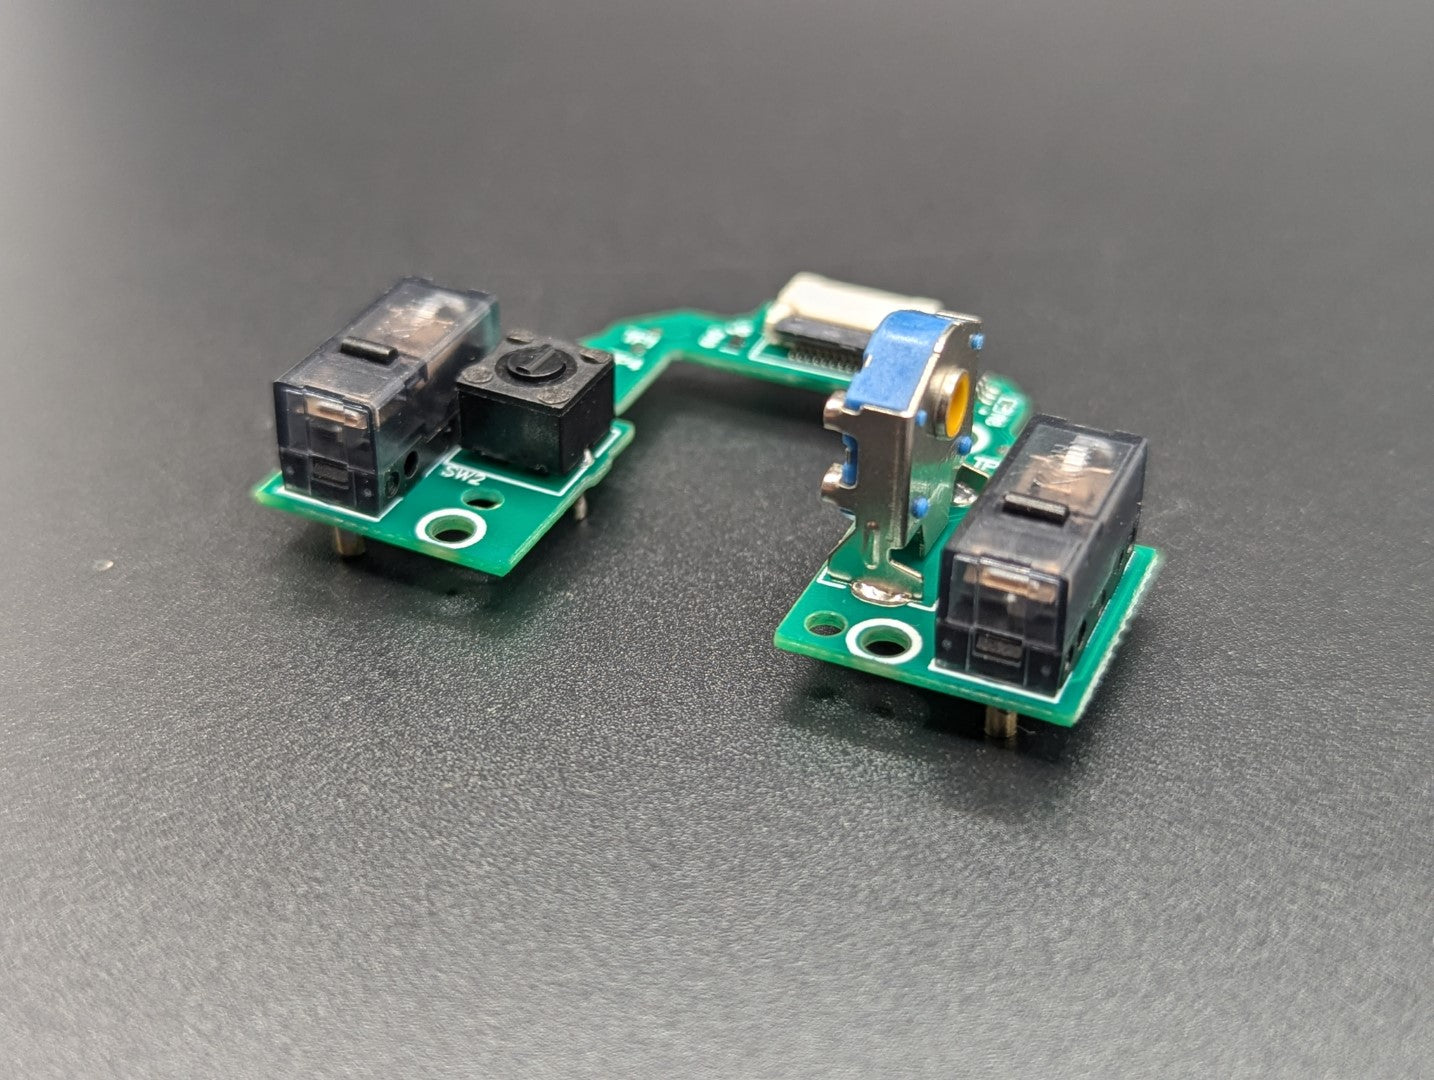
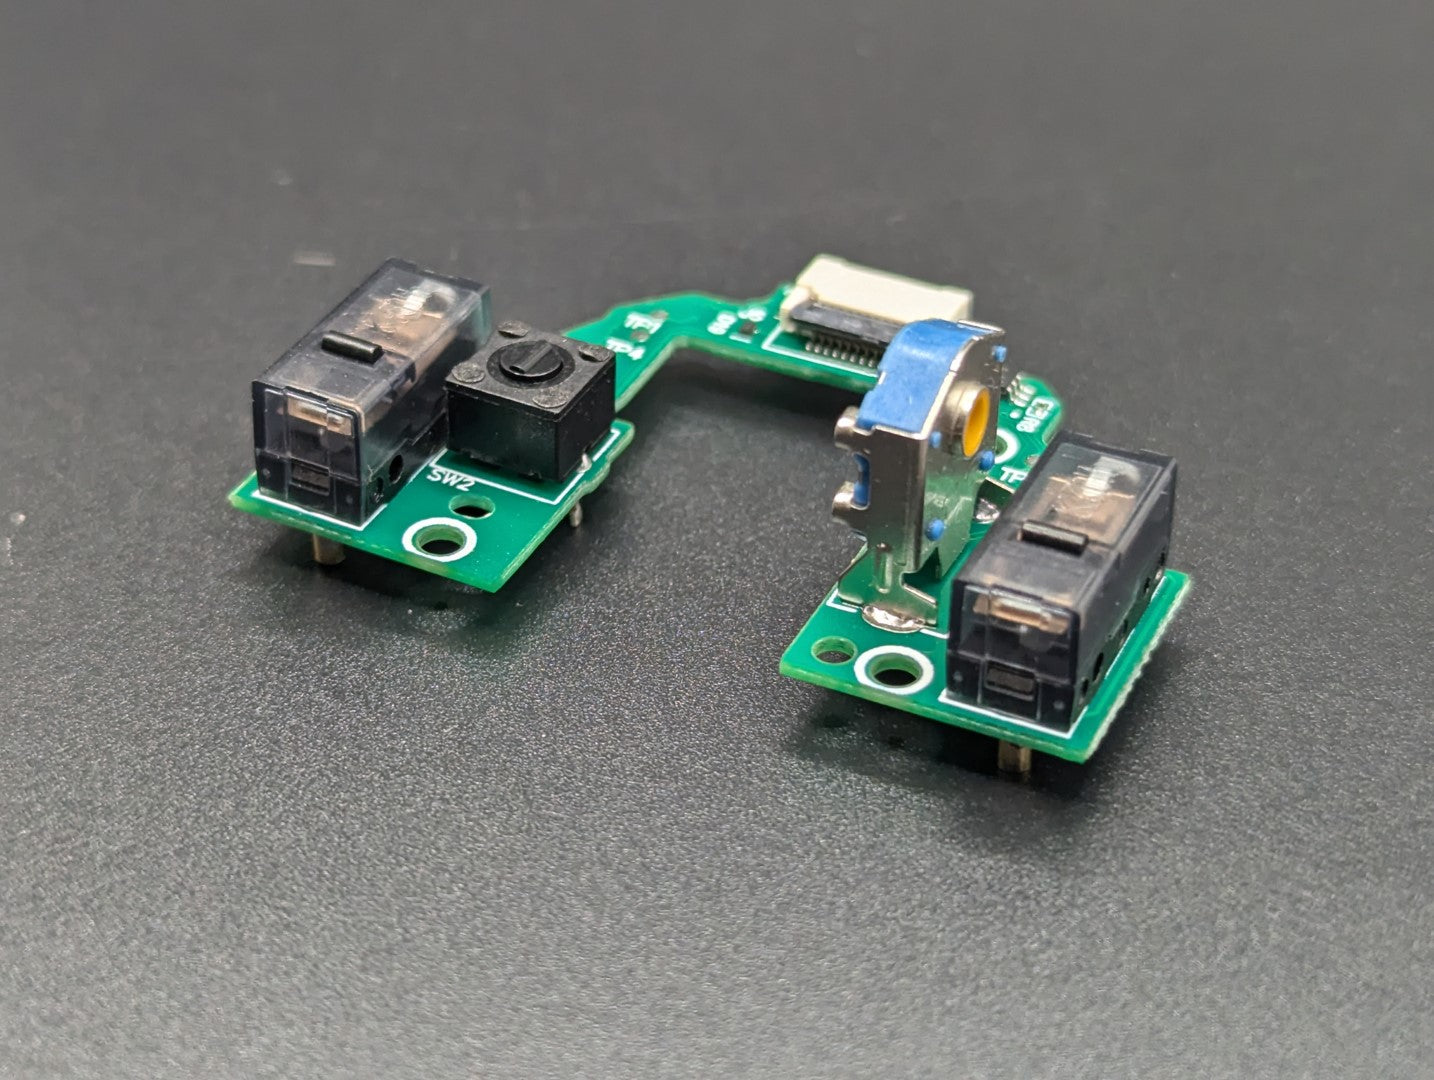
Hot-Swappable sockets option - If you choose this option the PCB will come with hot swap sockets, middle mouse button, and an encoder soldered in. The hot swap sockets allow you to pull out and install switches without the need to solder. Please be aware that due to the nature of these sockets the switches might not sit perfectly against the PCB and can effect how they feel (some people prefer the soldered option as it ensures the switches sit perfectly flush with the PCB and also will not move/wiggle during operation).
The ordering process:
- Choose your desired switches, encoder, and optional mouse feet
- The components you have chosen will be added to your cart and ready for checkout. (do not remove any components from your cart or they will not be supplied)
- Using your chosen components and an upgraded Kailh middle mouse button we will assemble/solder your modded PCB together and test it's functionality
- We ship the modded PCB to you ready for installation!
How to install (there are also plenty of Youtube tutorials in how to open and take out the G Pro X Superlight 2 switch PCB):
- Remove top and bottom mouse feet
- Remove the 6 screws under the mouse feet
- Carefully remove the flat ribbon cable by lifting the tab on the base PCB connector (it should easily pull out after this)
- Carefully remove the battery cable from the base PCB
- Carefully un-stick and remove the battery from inside the top shell (a flat plastic instrument such as a knife will help with this)
- Remove the 4 screws under the top shell that hold in the M1 and M2 clicks
- Pull out the M1 and M2 clicks revealing the stock click/encoder PCB
- Remove the small flat ribbon cable by pushing the left and rise side tabs of the connector (it should easily pull out after this)
- Remove the 4 screws holding the stock PCB down
- *notice the small metal clip holding down the scroll wheel!* Lift the stock PCB out of the mouse careful not to remove or pop-off the small metal clip
- Pull the scroll wheel out of the stock PCB and transfer into your new modded PCB
- Carefully lift up the small metal clip and install the modded PCB (the small clip should be putting tension down onto the scroll wheel as it did previously)
- Fix the modded PCB to the shell with the 4 screws and reinsert the ribbon cable by first inserting it into the connector and then pushing down on both sides of the tab.
- slide the M1 and M2 clicks back into the shell and screw in
- Push the battery back into place to ensure good adhesive contact
- put the flat ribbon cable into the base PCB connector and close down the tab to fix it in place
- plug the battery connector into the base PCB
- put the base and top shell back together and screw 6 screws back into place
- TEST! turn your mouse on and test that all clicks and scrolling work correctly. (do this before installing your mouse feet)
- If your mouse is functioning correctly install your new mouse feet and enjoy your modded gaming mouse!
Application - Logitech G Pro X Superlight 2 (This will NOT fit the original Logitech G Pro Wireless or G Pro X Superlight 1)
Quantity - 1 modded PCB
*Product page is for 1 PCB only and does not include a mouse.
*Ausmodshop is not responsible for any damaged caused by you to your mouse during the modification
*As this is a custom made to order product we do not accept any returns, refunds, and/or exchanges
*Mouse is not included