gm 4. 0 so much better
"gm 4. 0 so much better than stock switches on superlight1"


Click here to view shipping policy


There is a 1 week build time on all modded PCB's
We now have a modded PCB available for the Superlight 2 (GPX2)! Click here
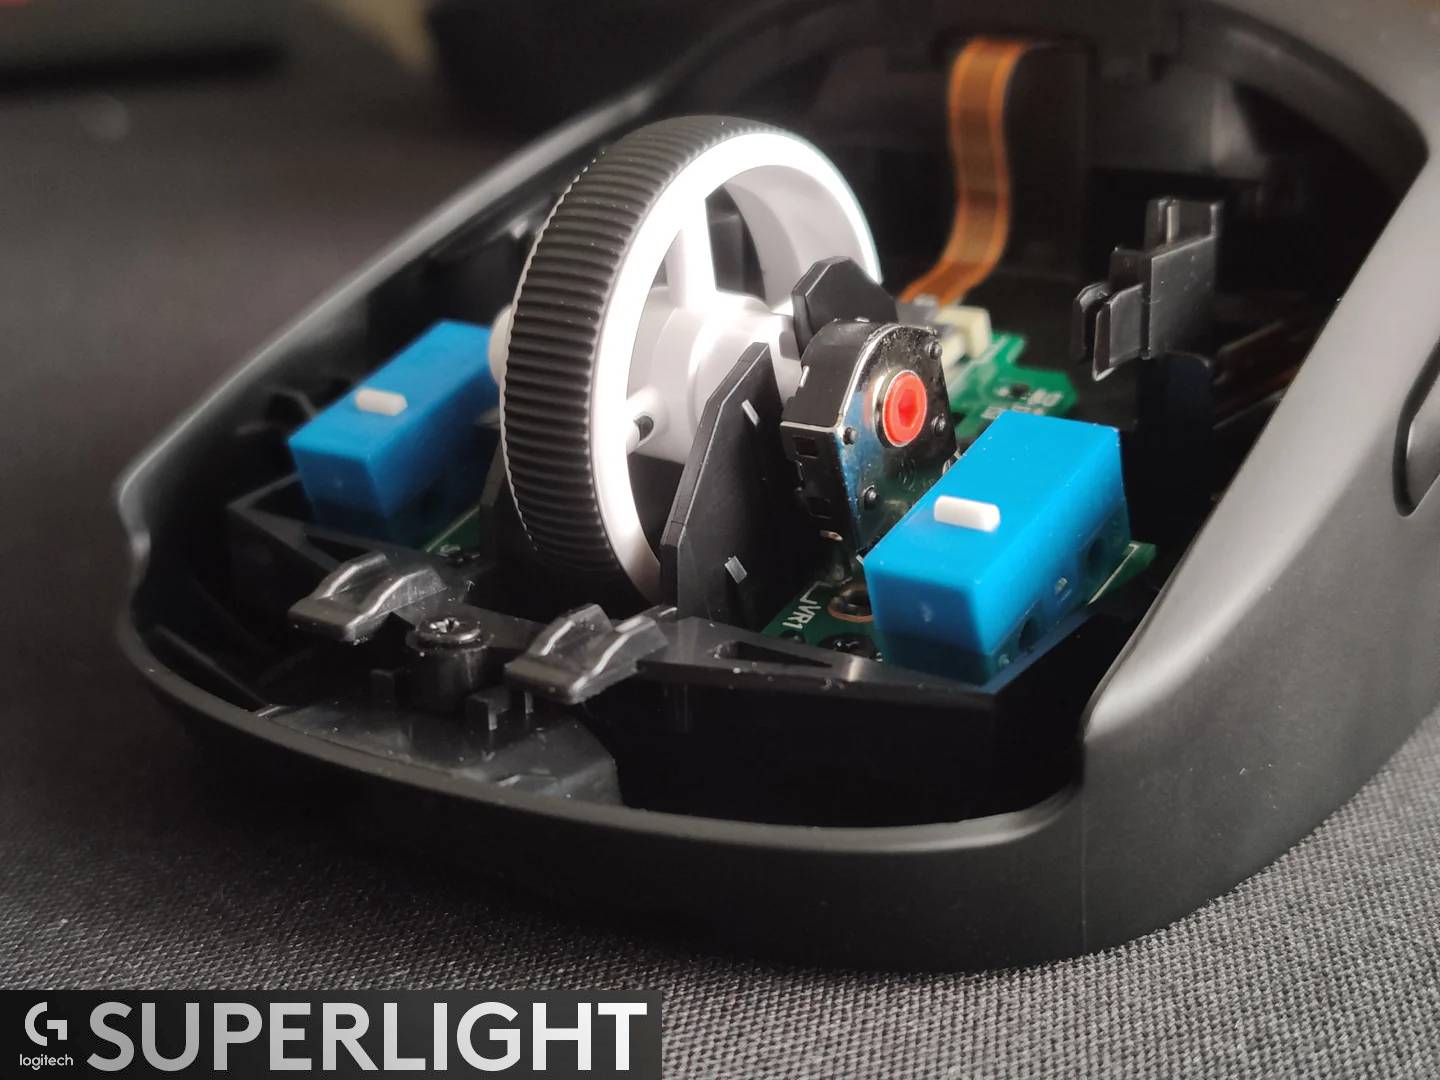
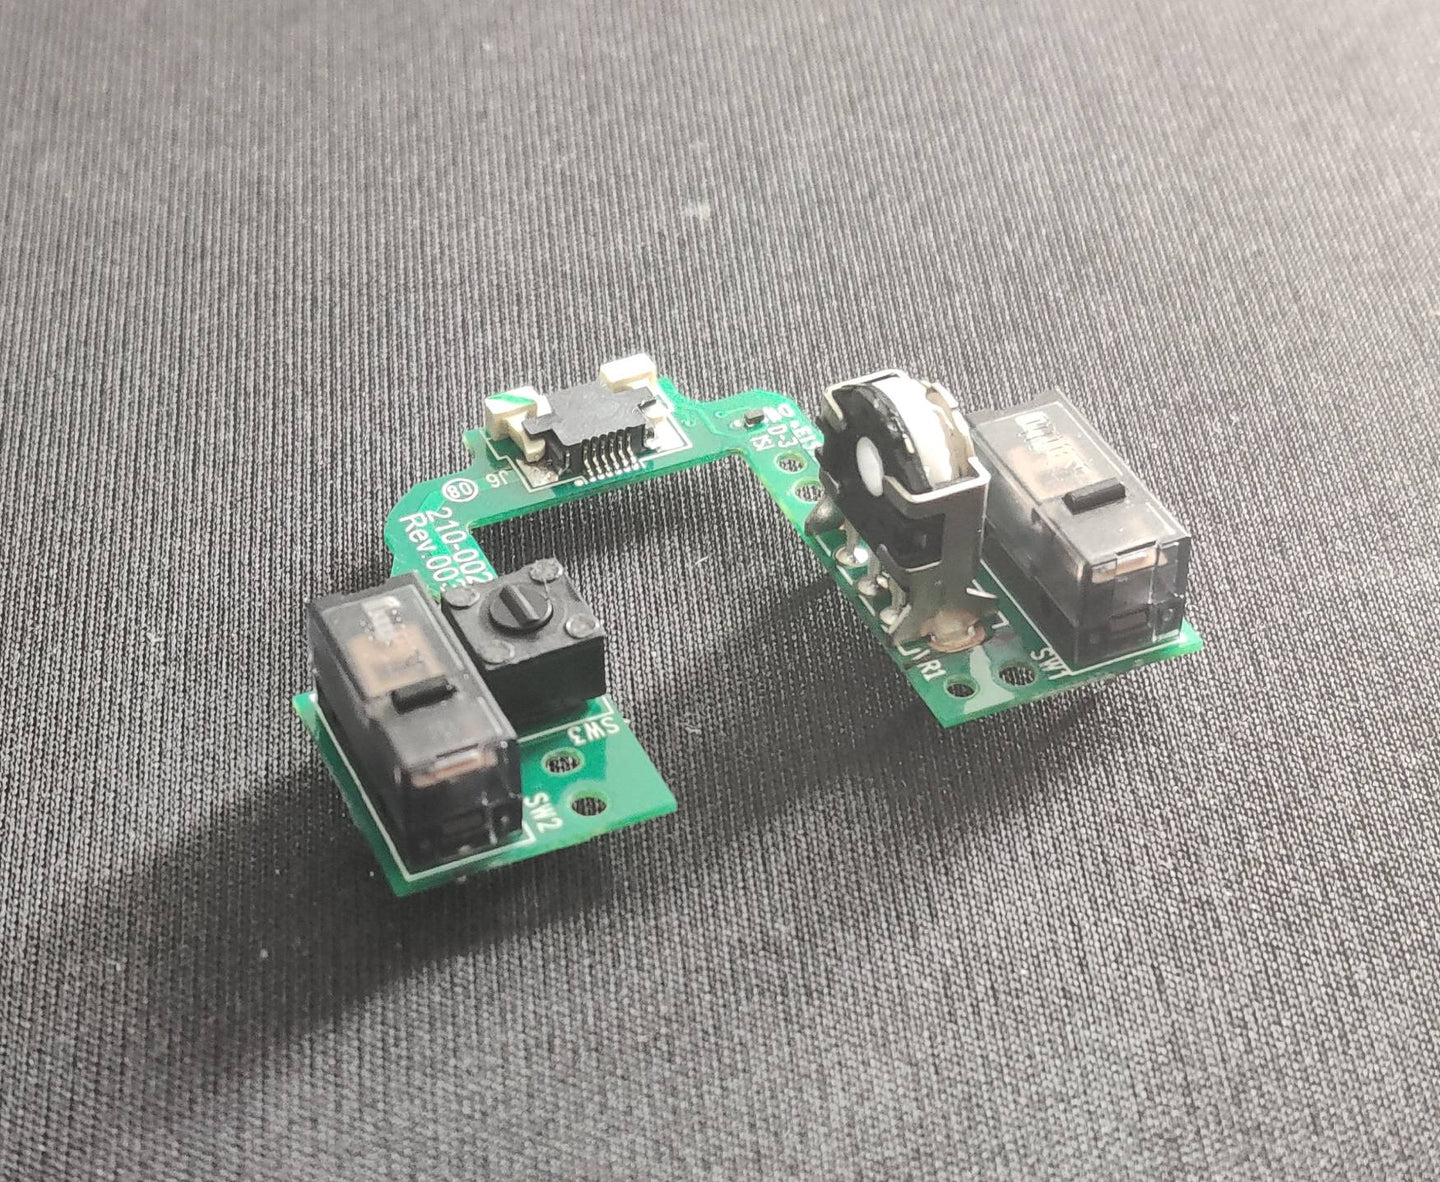
Easily mod your mouse with aftermarket switches and encoder wheel by installing a pre-modded PCB that arrives ready for installation!
Hot-Swappable sockets option - If you choose this option the PCB will come with hot swap sockets, middle mouse button, and an encoder soldered in. The hot swap sockets allow you to pull out and install switches without the need to solder (applicable to standard 3 pin mechanical switches only). Please be aware that due to the nature of these sockets the switches might not sit perfectly against the PCB and can effect how they feel (some people prefer the soldered option as it ensures the switches sit perfectly flush with the PCB and also will not move/wiggle during operation).
The ordering process:
How to install (there are also plenty of Youtube tutorials in how to open and take out the G Pro X Superlight switch PCB):
Application - Logitech G Pro X Superlight (This will NOT fit the original Logitech G Pro Wireless)
Quantity - 1 modded PCB
Brand - Ausmodshop (modified by)
*this PCB will NOT fit the Superlight 2
*Product page is for 1 PCB only and does not include a mouse.
*Ausmodshop is not responsible for any damaged caused by you to your mouse during the modification
*As this is a custom made to order product we do not accept any returns, refunds, and/or exchanges
1 year warranty
Overall rating: 5.0 / 5 from 5 reviews.
Review topics: [].
"gm 4. 0 so much better than stock switches on superlight1"
"Works flawlessly"
"Worked perfectly straight out the box."
"Shipped very quickly to the US, installation was straightforward and simple"
"very well put together mod, was very simple to install"
Trusted by Gamers
Proudly rated 5⭐ from
1500+ verified Google Reviews

Multiple Payment Options
We accept all cards, Paypal,
Afterpay, Zip Pay, and more!